Lab: Serial Input to P5.js
For this lab I setup an interface between an Arduino Nano 33 IoT, reading analog values from a potentiometer, and a P5.js sketch. Typically web browsers do not interface with serial ports on a computer so I had to use some additional software including the P5.serialport library and the P5.serialcontrol app by Shawn Van Every (updated by Jiwon Shin).
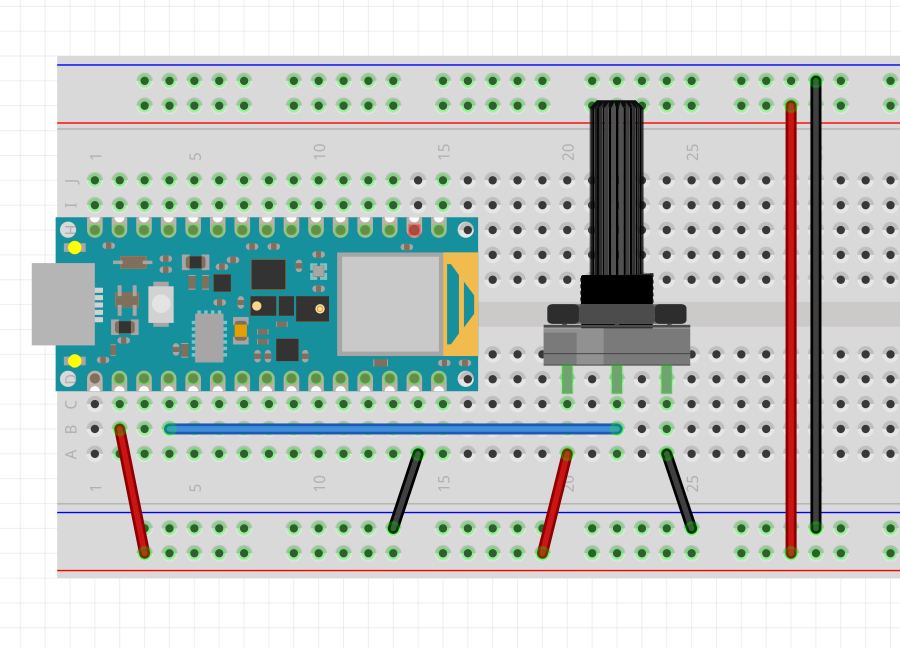
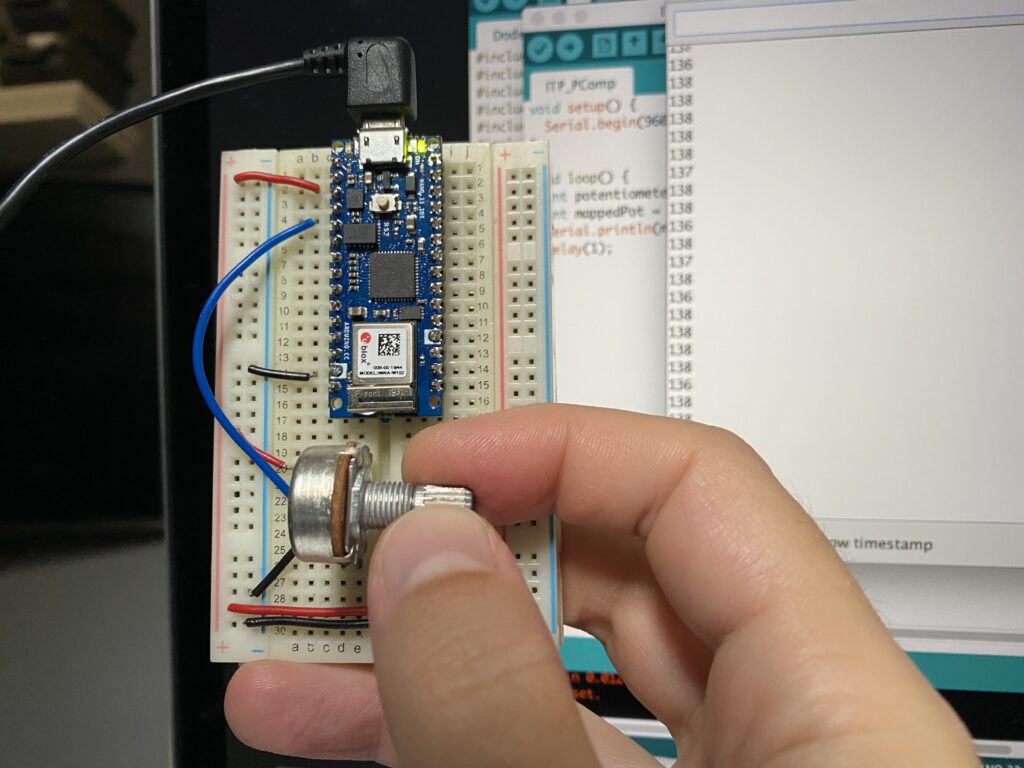
Here is the circuit that I setup using an Arduino Nano 33 IoT and potentiometer input to A0:
After installing the library and app for serial control via the Node Package Manager I setup my Arduino and uploaded a sketch to output readings from the potentiometer using this sketch.
void setup() {
  Serial.begin(9600); // initialize serial communications
}

void loop() {
  int potentiometer = analogRead(A0);                  // read the input pin
  int mappedPot = map(potentiometer, 0, 1023, 0, 255); // remap the pot value to fit in 1 byte
  Serial.write(mappedPot);                             // print it out the serial port, modified to 'println' for the image below
  delay(1);                                            // slight delay to stabilize the ADC
}
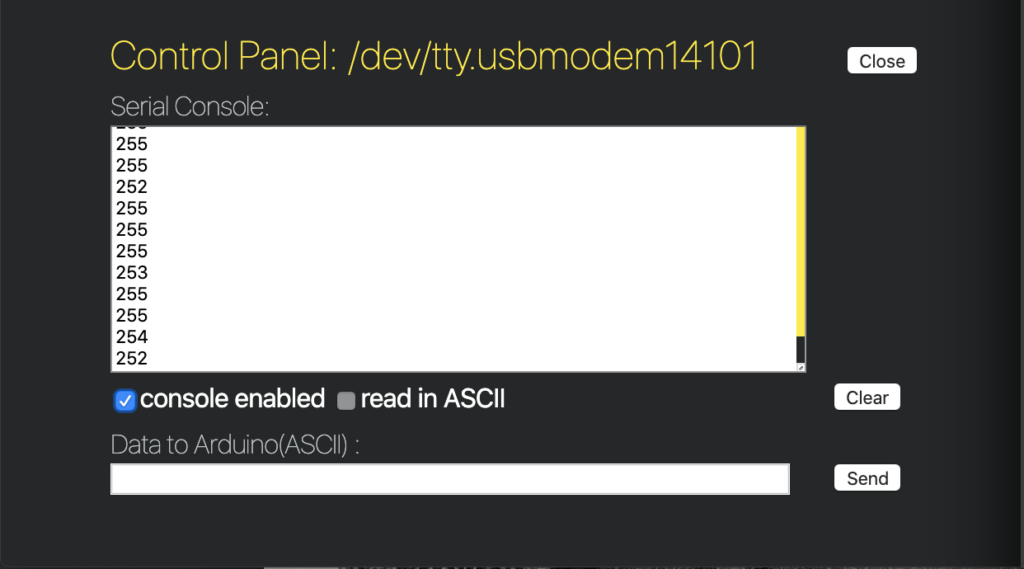
Knowing that the Arduino serial monitor would output gibberish with the ‘Serial.write()’ function I tested with ‘Serial.println()’ first to ensure everything was working properly on the Arduino end of things.
Next I installed the P5.serialcontrol app to read the serial input and relay to P5.js – this went smoothly and I quickly had serial output from the Arduino displaying in the P5.serialcontrol app serial console.
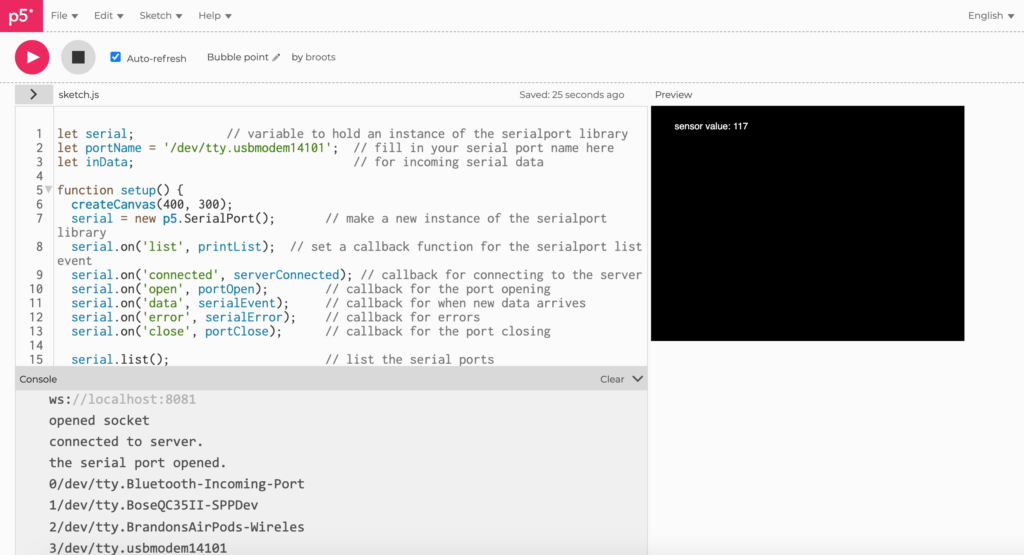
Getting this data to the browser in Safari lead to some headaches. Ultimately I found that the same P5.js sketch works in Chrome but not in Safari, so I switched to Chrome for the rest of the project.
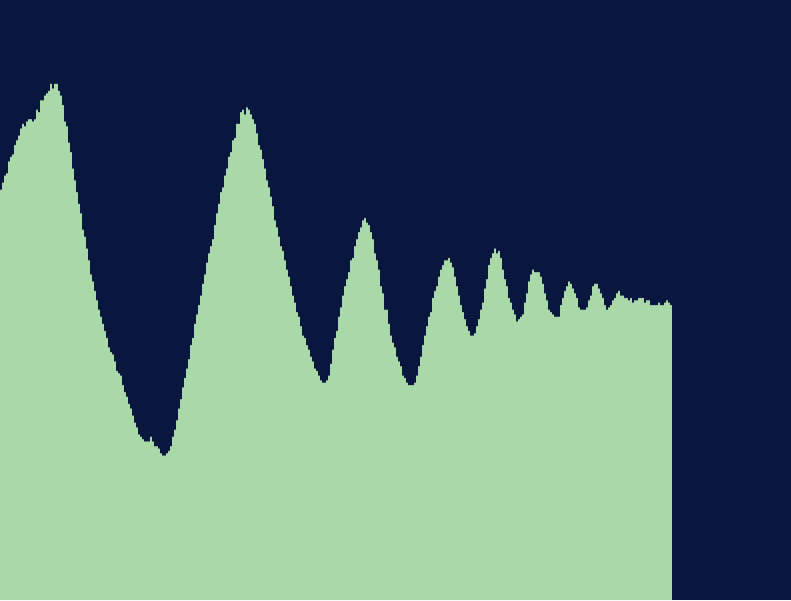
Very cool! With P5.js interfacing through P5.serialcontrol to the Arduino serial output I was able to draw some graphs and see the effect of a longer delay in the Arduino output.

It was helpful to start to see the various ways of controlling serial output from the Arduino and to compare the differences of sending data as binary (single bytes) or a string (encoded in ASCII).
On to the next lab!


