Lab: Tone Output Using An Arduino
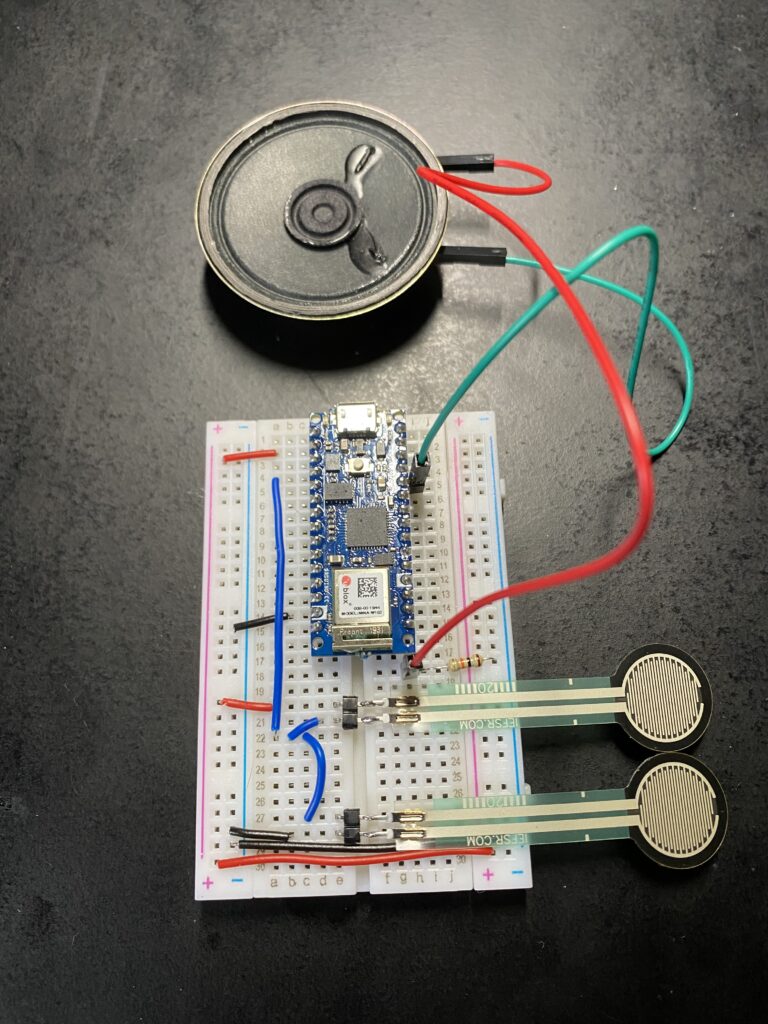
For this lab I created a few different circuits to generate tones using the Arduino Nano 33 IoT. The first circuit below made use of two touch sensors connected to an analog input, with one sensor connected LOW to ground and the other HIGH to 3.3 volts.
Next I tested reading values with the following code to determine their range.
void setup() {
  Serial.begin(9600);       // initialize serial communications
}

void loop() {
  int analogValue = analogRead(A0); // read the analog input
  Serial.println(analogValue);      // print it
}
Following further lab instructions I observed that the sensors were able to go to 0 ohms when pressed, and were logging a wild range of values when not being touched, so I went ahead and added a 220-ohm resistor in series.
With the resistor in series the input reading became more reliable, generally varying from 200 to 600 with no touch, up to 1023 while pressing the HIGH upper touch sensor, and down to 0 while pressing the LOW bottom touch sensor.
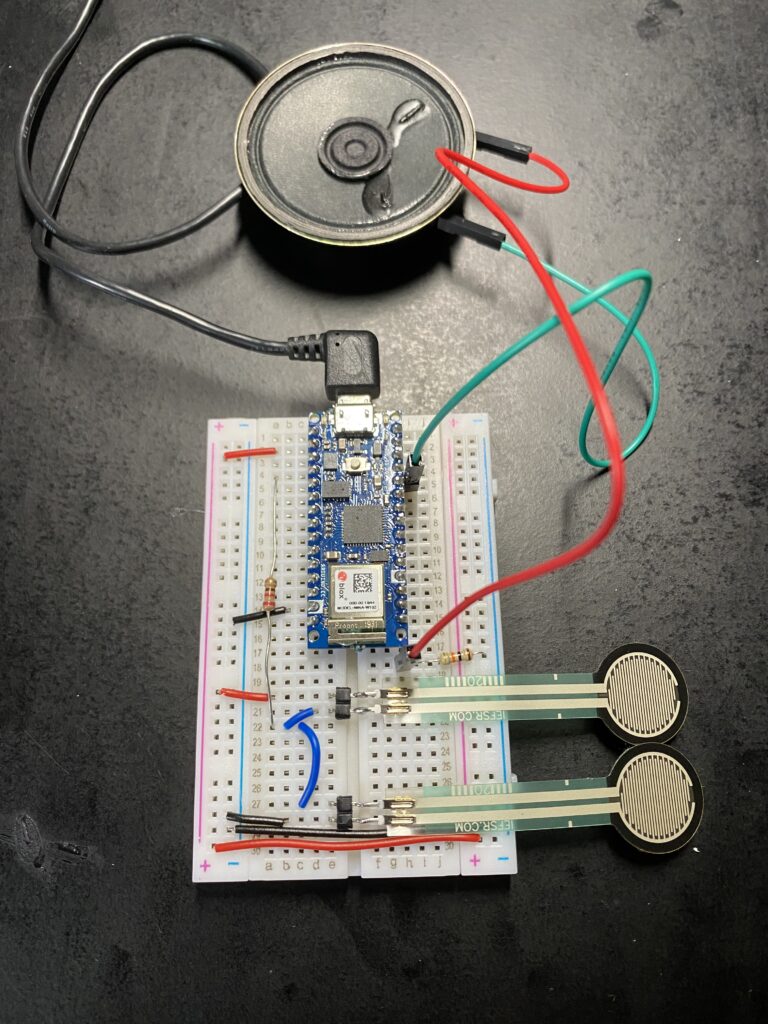
Next I tried out the sample code and had to work through some bugs. I found that first the speaker didn’t appear to be connected to an analog port, so I move to PIN 2. Then I noticed that the speaker only generated faint static. To help diagnose the problem I enabled the serial output and printed the frequency variable to ensure it was receiving values. Seeing rapid fluctuations made me think that the sample rate was too high for the speaker to play the tone before the next reading so I added a delay. Eventually I ended up with this code:
void setup() {
  // start serial
  Serial.begin(9600);
}

void loop() {
  // get a sensor reading:
  int sensorReading = analogRead(A0);
  // map the results from the sensor reading's range
  // to the desired pitch range:
  float frequency = map(sensorReading, 0, 1024, 100, 1000);
  // change the pitch, play for 10 ms:
  tone(2, frequency, 100);
  Serial.println(frequency);
  // delay to allow sound to play
  delay(100);
}
The changes appear to have worked and I now have a very faint musical instrument!
Next in the lab I used the following sample code to play a preset melody, only needing to add “pitches.h” as an addition tab and changing my output pin to 2.
#include "pitches.h"

// notes in the melody:
int melody[] = {
NOTE_C4, NOTE_G3,NOTE_G3, NOTE_GS3, NOTE_G3,0, NOTE_B3, NOTE_C4};

// note durations: 4 = quarter note, 8 = eighth note, etc.:
int noteDurations[] = {4,8,8,4,4,4,4,4 };

void setup() {
  // iterate over the notes of the melody:
  for (int thisNote = 0; thisNote < 8; thisNote++) {
    // to calculate the note duration, take one second
    // divided by the note type.
    //e.g. quarter note = 1000 / 4, eighth note = 1000/8, etc.
    int noteDuration = 1000/noteDurations[thisNote];
    tone(8, melody[thisNote],noteDuration);

    //pause for the note's duration plus 30 ms:
    delay(noteDuration +30);
  }
}

void loop() {
  // no need to repeat the melody.
}
Works great!
Next, for fun, I combined these two sketches to only advance the melody when a new touch is registered. Code here:
#include "pitches.h"

// notes in the melody:
int melody[] = {
NOTE_C4, NOTE_G3,NOTE_G3, NOTE_GS3, NOTE_G3, NOTE_B3, NOTE_C4};

// note durations: 4 = quarter note, 8 = eighth note, etc.:
int noteDurations[] = {4,8,8,4,4,4,4 };

// save previous press
int previousSensorReading = 600;

// save notes progress
int thisNote = 0;

void setup() {
  Serial.begin(9600);
}

void loop() {

  // get a sensor reading:
  int sensorReading = analogRead(A0);

  // check to see if a button is pressed
  if (sensorReading < 10 || sensorReading > 1020){

    // check to see if there was a break before this button pressed
    if (previousSensorReading > 10 && previousSensorReading < 1020){

      //Serial.println("new key pressed!");

      // to calculate the note duration, take one second
      // divided by the note type.
      //e.g. quarter note = 1000 / 4, eighth note = 1000/8, etc.
      int noteDuration = 1000/noteDurations[thisNote];
      tone(2, melody[thisNote],noteDuration);
      Serial.print("playing note ");
      Serial.println(melody[thisNote]);

      //pause for the note's duration plus 30 ms:
      delay(noteDuration +30);

      //advance the note
      thisNote++;
      if (thisNote > 6){
        thisNote = 0;
        Serial.println("starting over!");
      }
    }
  }

  previousSensorReading = sensorReading;

  // delay to smooth out readings
  delay(20);
}
On to the next lab!


