Week 1 – Capacitive Sensor Controlling LEDs
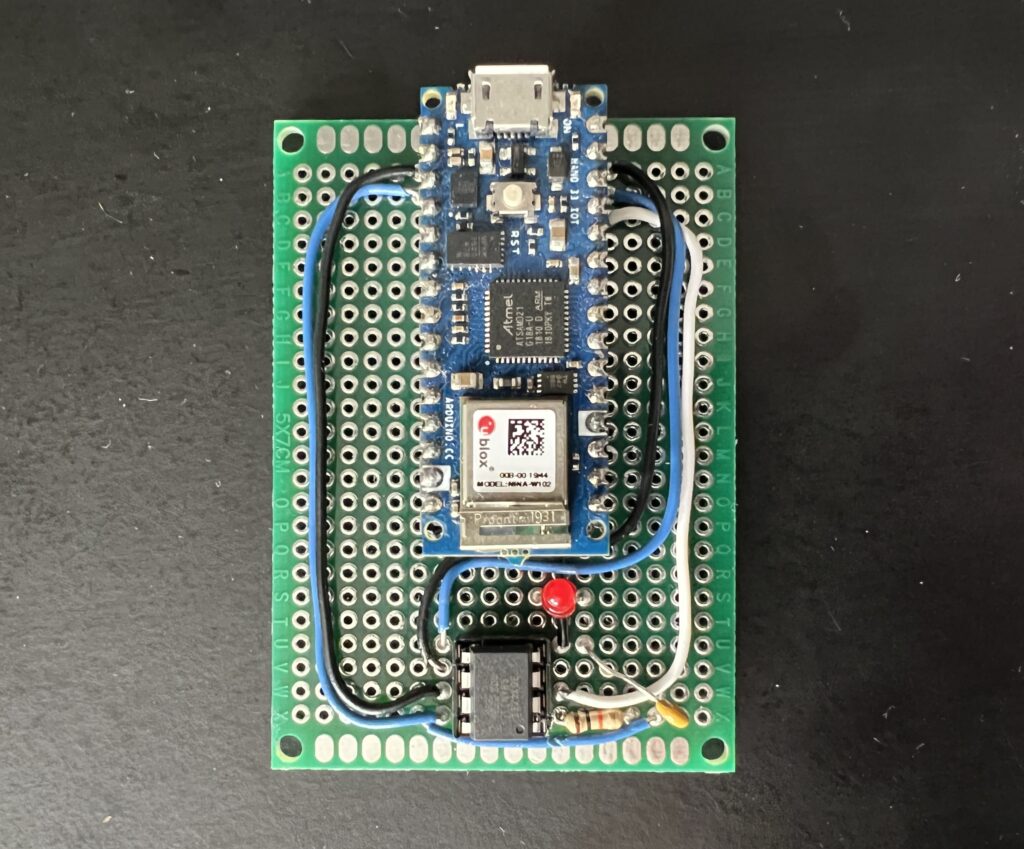
For the first assignment for Homemade Hardware I finished soldering my programming jig for an ATTiny85 microcontroller. With the finished jig I was able to burn the Arduino Bootloader to the IC, and subsequently upload custom Arduino sketches.
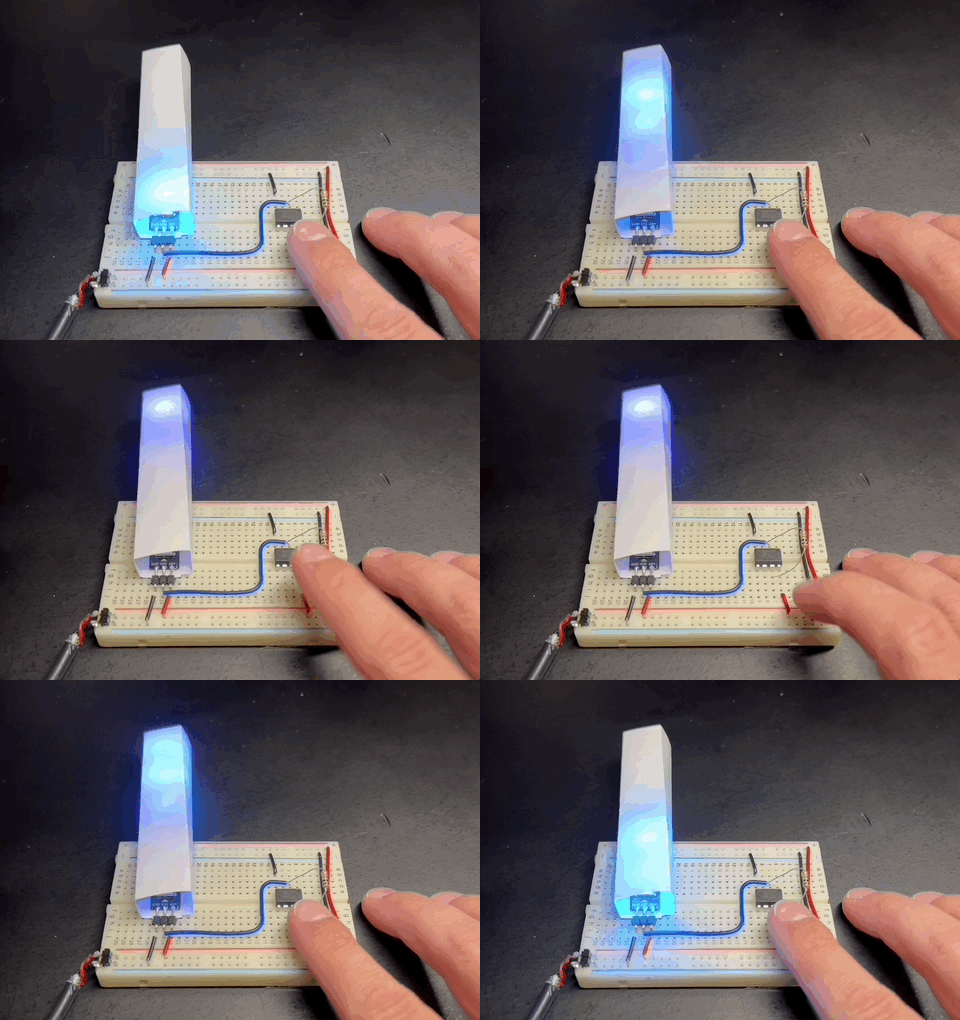
Next the assignment was to breadboard out a circuit to control multiple LEDs using input from a capacitive sensor.
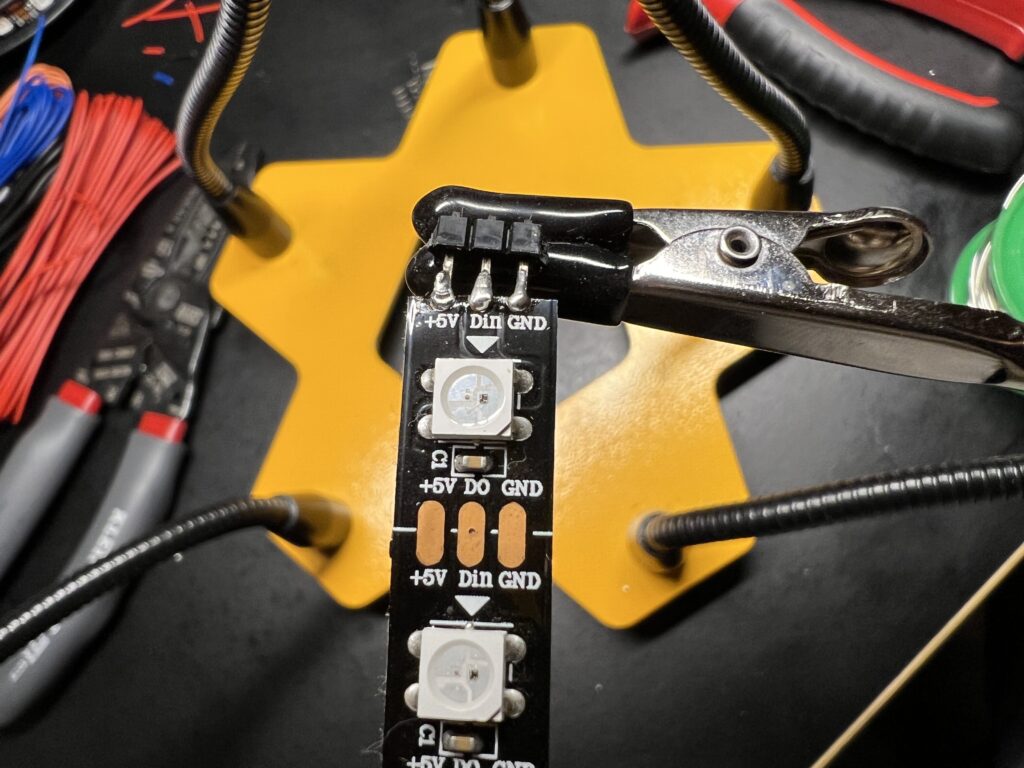
For the LEDs I made use of a strip of WS2812s. These LEDs can be controlled using a single data pin from the micro controller, and functions at the same 5 volts as the ATTiny making for easy power over USB.
To control the LEDs I used the FastLED library for Arduino which comes with a number of demo sketches to animate the lights. My intent with the circuit was to use touch sensing to control playback of the demo animations.
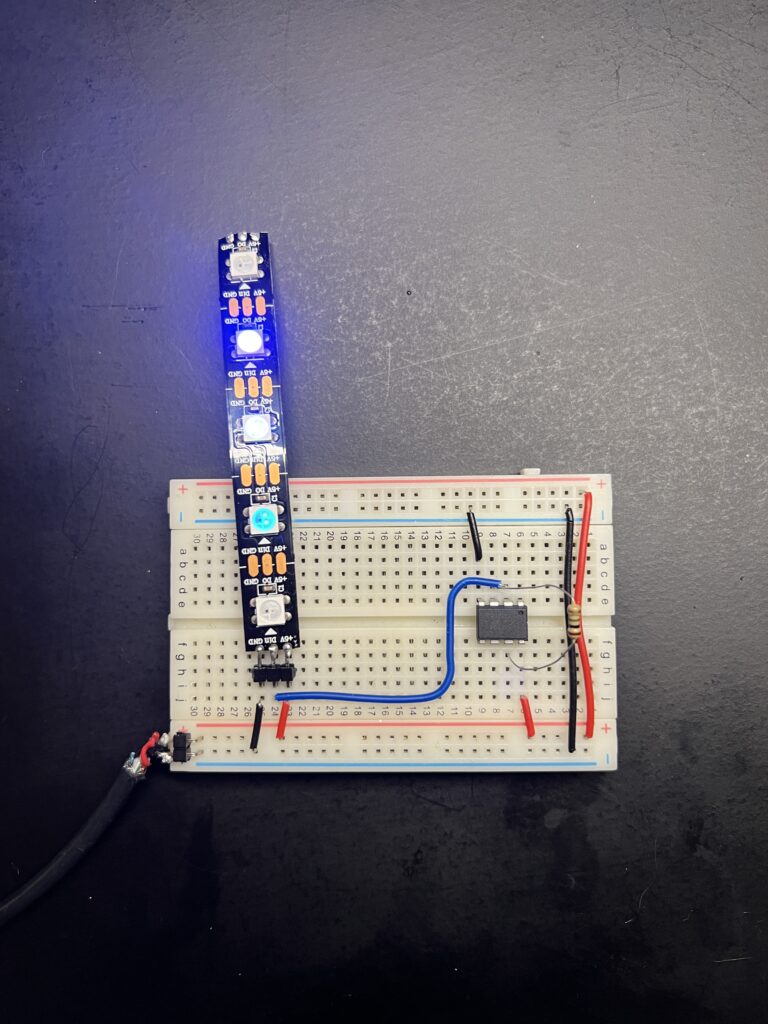
For capacitive touch sensing I used the CapacitiveSensing library written by Paul Badger for Arduino. This setup used two pins from the ATTiny85, Pin 2 as the touch sensor pin, and also required connecting a high value resistor from that pin to Pin 4.
Here is the finished circuit:
And sketch for the Arduino IDE:
// FastCapLED is a sketch that combines the FastLED "100-lines-of-code" demo reel and the CapacitiveSense Library Demo Sketch
// Created for Homemade Hardware
// ITP Spring 2022
// Brandon Roots
//
//
// FastLED "100-lines-of-code" demo reel, showing just a few
// of the kinds of animation patterns you can quickly and easily
// compose using FastLED.
//
// This example also shows one easy way to define multiple
// animations patterns and have them automatically rotate.
//
// -Mark Kriegsman, December 2014
//
// CapitiveSense Library Demo Sketch
// Paul Badger 2008
// Uses a high value resistor e.g. 10M between send pin and receive pin
// Resistor effects sensitivity, experiment with values, 50K - 50M. Larger resistor values yield larger sensor values.
// Receive pin is the sensor pin - try different amounts of foil/metal on this pin


#include <FastLED.h>
#include <CapacitiveSensor.h>

FASTLED_USING_NAMESPACE

CapacitiveSensor   cs_4_2 = CapacitiveSensor(4,2);        // 10M resistor between pins 4 & 2, pin 2 is sensor pin, add a wire and or foil if desired


#if defined(FASTLED_VERSION) && (FASTLED_VERSION < 3001000)
#warning "Requires FastLED 3.1 or later; check github for latest code."
#endif

#define DATA_PIN    3
//#define CLK_PIN   4
#define LED_TYPE    WS2811
#define COLOR_ORDER GRB
#define NUM_LEDS    5
CRGB leds[NUM_LEDS];

#define BRIGHTNESS          96
#define FRAMES_PER_SECOND  120

void setup() {
  // Capacitive sensor...
  cs_4_2.set_CS_AutocaL_Millis(0xFFFFFFFF);     // turn off autocalibrate on channel 1 - just as an example

  // FastLED...
  delay(3000); // 3 second delay for recovery

  // tell FastLED about the LED strip configuration
  FastLED.addLeds<LED_TYPE,DATA_PIN,COLOR_ORDER>(leds, NUM_LEDS).setCorrection(TypicalLEDStrip);
  //FastLED.addLeds<LED_TYPE,DATA_PIN,CLK_PIN,COLOR_ORDER>(leds, NUM_LEDS).setCorrection(TypicalLEDStrip);

  // set master brightness control
  FastLED.setBrightness(BRIGHTNESS);
}


// List of patterns to cycle through.  Each is defined as a separate function below.
typedef void (*SimplePatternList[])();
SimplePatternList gPatterns = { rainbow, sinelon, bpm };

uint8_t gCurrentPatternNumber = 0; // Index number of which pattern is current
uint8_t gHue = 0; // rotating "base color" used by many of the patterns

void loop()
{
  // Capacitive sensor...
  long start = millis();
  long total1 =  cs_4_2.capacitiveSensor(30);

  // Stop FastLED when capacitive sensor touched
  if(total1 > 300){
    // FastLED...
    // Call the current pattern function once, updating the 'leds' array
    gPatterns[gCurrentPatternNumber]();

    // send the 'leds' array out to the actual LED strip
    FastLED.show();
    // insert a delay to keep the framerate modest
    FastLED.delay(1000/FRAMES_PER_SECOND);

    // do some periodic updates
    EVERY_N_MILLISECONDS( 20 ) { gHue++; } // slowly cycle the "base color" through the rainbow
    EVERY_N_SECONDS( 10 ) { nextPattern(); } // change patterns periodically
  }
}

#define ARRAY_SIZE(A) (sizeof(A) / sizeof((A)[0]))

void nextPattern()
{
  // add one to the current pattern number, and wrap around at the end
  gCurrentPatternNumber = (gCurrentPatternNumber + 1) % ARRAY_SIZE( gPatterns);
}

void rainbow()
{
  // FastLED's built-in rainbow generator
  fill_rainbow( leds, NUM_LEDS, gHue, 7);
}

void sinelon()
{
  // a colored dot sweeping back and forth, with fading trails
  fadeToBlackBy( leds, NUM_LEDS, 20);
  int pos = beatsin16( 13, 0, NUM_LEDS-1 );
  leds[pos] += CHSV( gHue, 255, 192);
}

void bpm()
{
  // colored stripes pulsing at a defined Beats-Per-Minute (BPM)
  uint8_t BeatsPerMinute = 62;
  CRGBPalette16 palette = PartyColors_p;
  uint8_t beat = beatsin8( BeatsPerMinute, 64, 255);
  for( int i = 0; i < NUM_LEDS; i++) { //9948
    leds[i] = ColorFromPalette(palette, gHue+(i*2), beat-gHue+(i*10));
  }
}
